
10 Playful Ways to Create Vintage Photo Effects with Mixed Media
Compartir
Vintage photo effects are popular, with 73% of photographers adding a touch of nostalgia to their shots. Here are 10 fun techniques that blend old-school charm with mixed media magic. Let's turn your pics into timeless treasures!
| Key Takeaways |
|---|
| - Film grain adds authentic texture to digital photos - Color grading creates that classic vintage look - Light leaks and lens flares add nostalgic charm - Vignetting frames your image with a vintage touch - Digital collage blends eras for unique compositions - Texture overlays add depth and character - Hand-drawn elements infuse personal style - Scanning physical media brings real textures to digital art - Pocket Life adapts vintage effects for modern memory keeping - Combining techniques creates rich, layered vintage effects |
1. Embrace the Grain: Film Grain Simulation
Think about those grainy old photos from grandma's attic. That's the look we want! Film grain adds texture and character to your images. Here's how to get that vintage vibe:
1. Open your photo in a editing app
2. Look for a "grain" or "noise" filter
3. Adjust the intensity until it looks just right
4. Voila! Instant old-school cool
Want to take it up a notch? Check out Hip Kit Club's mixed media supplies to add real texture to your printed photos. Sprinkle on some fine sand or use textured paper for that authentic grainy feel.
For an extra layer of authenticity, try different grain patterns. Some editing software offers options to mimic specific film types, each with its unique grain structure. Don't be afraid to experiment - sometimes a bit of exaggeration can make your digital photos look genuinely vintage!

Pro tip: The April 2024 Color Kit has some great neutral tones that work perfectly with vintage-style photos. Try using these colors as a base for your grainy creations to enhance that timeless feel.
2. Master the Art of Color Grading
Have you noticed how old photos have a certain "look" to their colors? That's color grading in action! It's like giving your photo a time-travel makeover. Here's a simple way to try it:
1. Open your photo editor
2. Look for "color balance" or "color grading" tools
3. Play with the sliders for highlights, midtones, and shadows
4. Add a bit more yellow and red for that warm, vintage feel
Different eras had different color palettes. For a 1950s look, try boosting the saturation slightly and adding a touch of teal to the shadows. For a 1970s vibe, lean into warmer tones and slightly muted colors. Experiment with different combinations to find the perfect vintage mood for your photos.
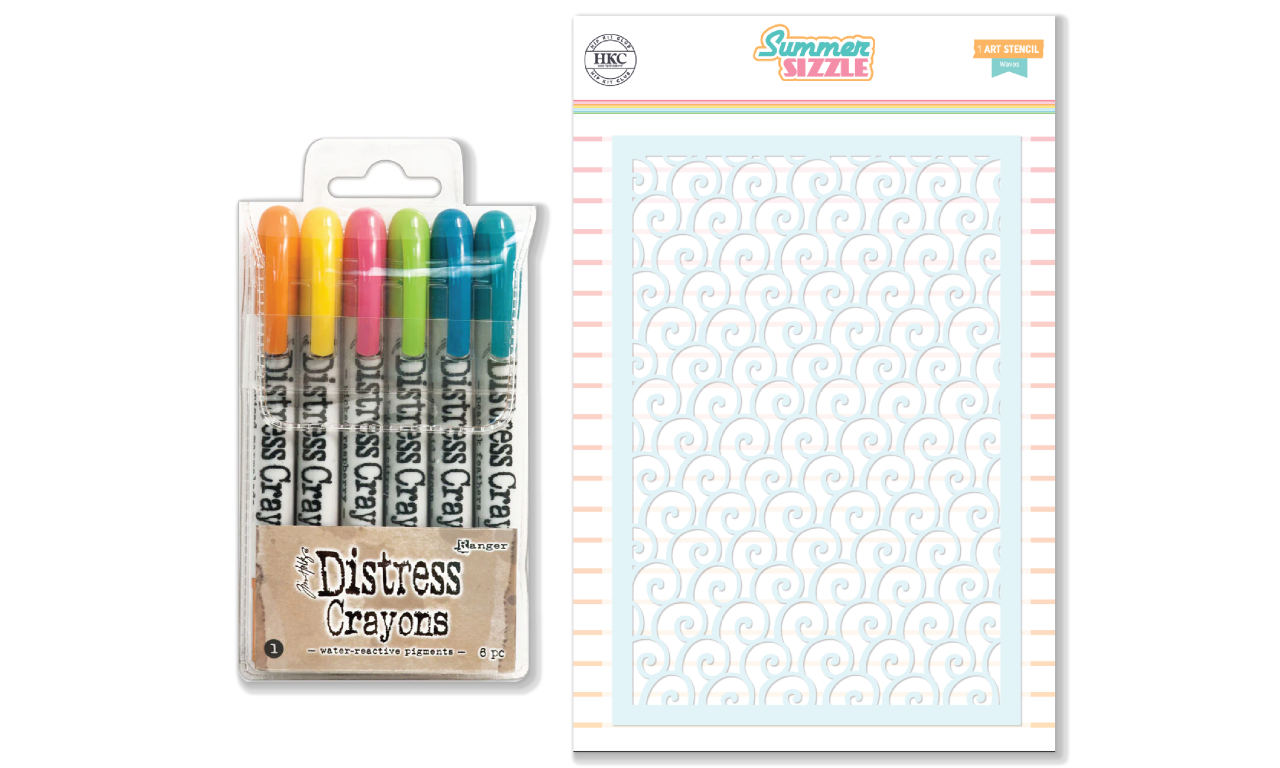
For real-world inspiration, check out the July 2024 Color Kit. It's packed with vintage-inspired hues that'll make your photos pop!
3. Light Leaks and Lens Flares: Adding Nostalgic Charm
Those bright streaks of light in old photos? Those are light leaks, and they're super cool! Here's how to add them digitally:
1. Find a light leak overlay image online (or make your own!)
2. Add it as a new layer on top of your photo
3. Set the layer blend mode to "Screen" or "Overlay"
4. Adjust the opacity until it looks just right
Light leaks and lens flares can add a dreamy, ethereal quality to your images. They're great for outdoor shots or portraits. For a more subtle effect, try using light leaks to enhance the existing lighting in your photo rather than as a dominant feature.
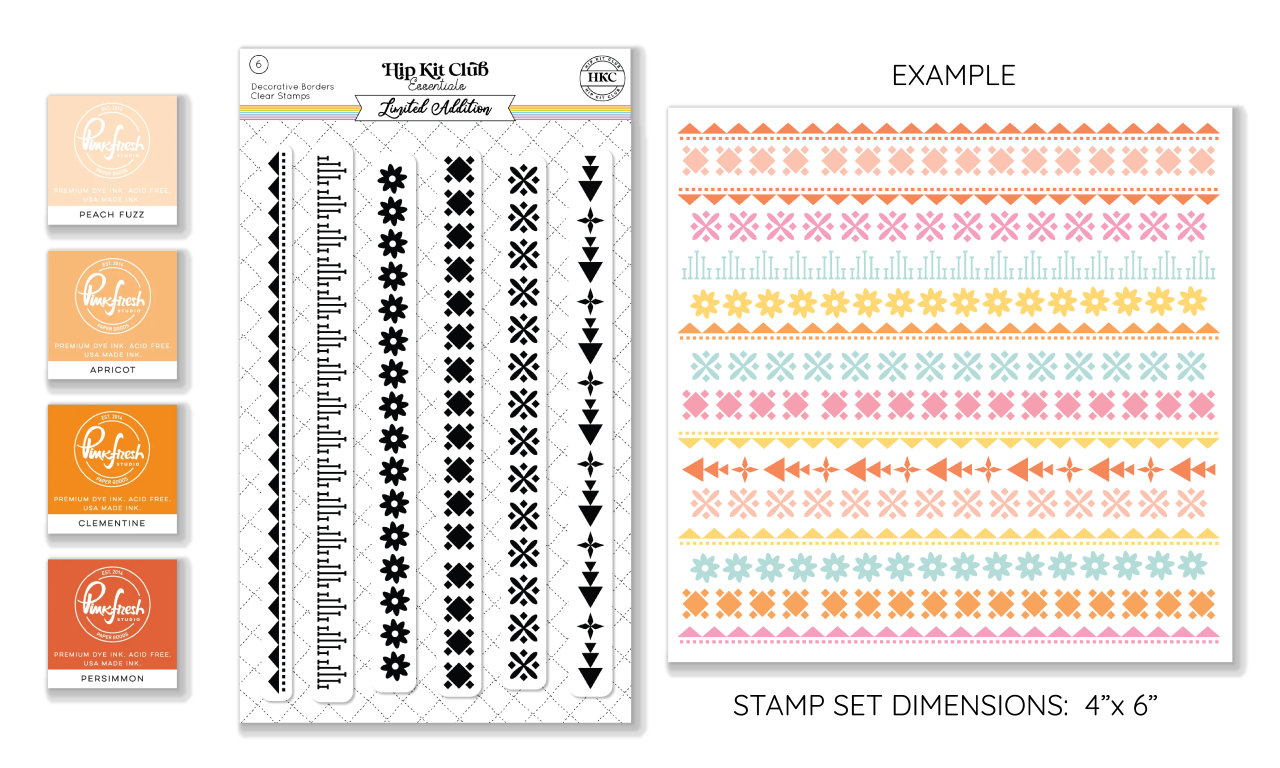
Want to get hands-on? The August 2024 Color Kit has some awesome translucent elements you can use to create physical light leak effects on your scrapbook pages. Try layering these elements for a multi-dimensional light leak look!
4. Vignetting: Framing Your Vintage Vision
Vignettes are those dark edges that make old photos look like you're peering through a keyhole. They're super easy to add:
1. In your photo editor, look for a vignette tool
2. Adjust the size and intensity of the dark edges
3. Play with the shape - circular or rectangular both work great
4. Don't go too heavy - subtle is key!
Vignetting can help draw the viewer's eye to the center of your image, creating a more focused and intimate feel. For a unique twist, try creating a reverse vignette by lightening the edges instead of darkening them. This can give your photo a dreamy, faded look that's perfect for certain vintage styles.
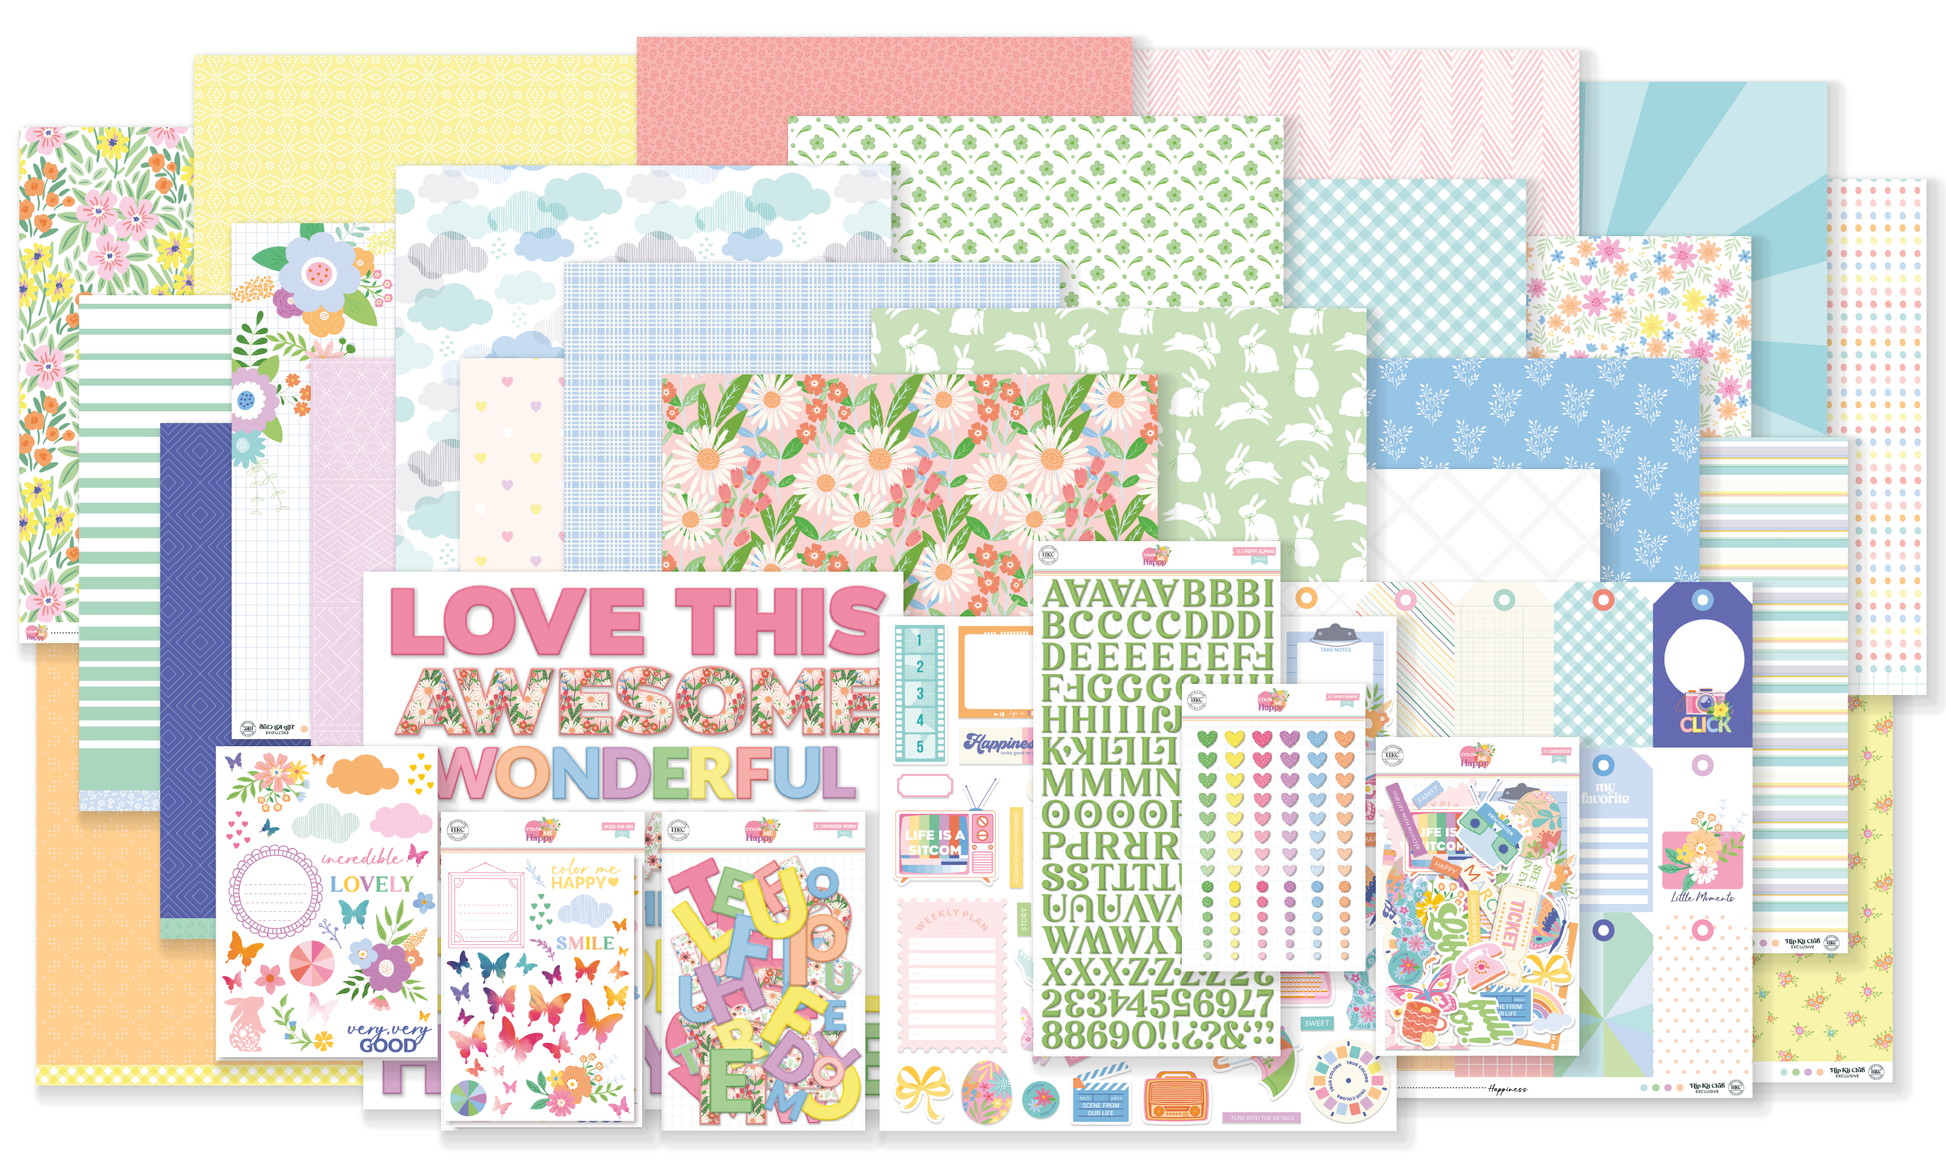
For a hands-on approach, grab the March 2024 Main Kit. Use darker papers or inks around the edges of your layout to create a physical vignette effect. This can add depth and dimension to your scrapbook pages, enhancing that vintage feel.
5. Digital Collage: Blending Eras with Mixed Media
Digital collage is like a time-travel puzzle. You can mix old and new elements to create something totally unique. Here's a fun way to start:
1. Choose a main vintage photo as your base
2. Find digital elements like old stamps, tickets, or postcards
3. Layer these elements on top of your photo
4. Adjust opacity and blending modes to make everything mesh
Digital collage offers endless possibilities for creativity. Try incorporating text from old newspapers or handwritten letters for an authentic vintage touch. Don't be afraid to mix different time periods - a Victorian portrait alongside 1950s advertising can create an interesting juxtaposition that tells a unique story.
For a mixed media twist, check out Hip Kit Club's metal dies. Use them to cut out shapes from vintage-inspired papers and add them to your digital collages for extra texture. This blend of physical and digital elements can create a truly unique vintage aesthetic.
Looking for more vintage inspiration? Browse our vintage-inspired collection for ideas that'll make your projects shine!
6. Texture Overlays: Adding Depth to Your Vintage Creations
Texture overlays are like magic dust for your photos. They can make a digital image look like it's printed on old paper or canvas. Here's how to use them:
1. Find a texture image (like old paper or fabric)
2. Add it as a layer on top of your photo
3. Set the blend mode to "Overlay" or "Soft Light"
4. Adjust the opacity until it looks just right
Experiment with different textures to achieve various vintage effects. A subtle paper grain can make your photo look like it's been printed on an old postcard, while a more pronounced canvas texture can give it an painted feel. Don't limit yourself to just one texture - try layering multiple overlays for a more complex, aged look.
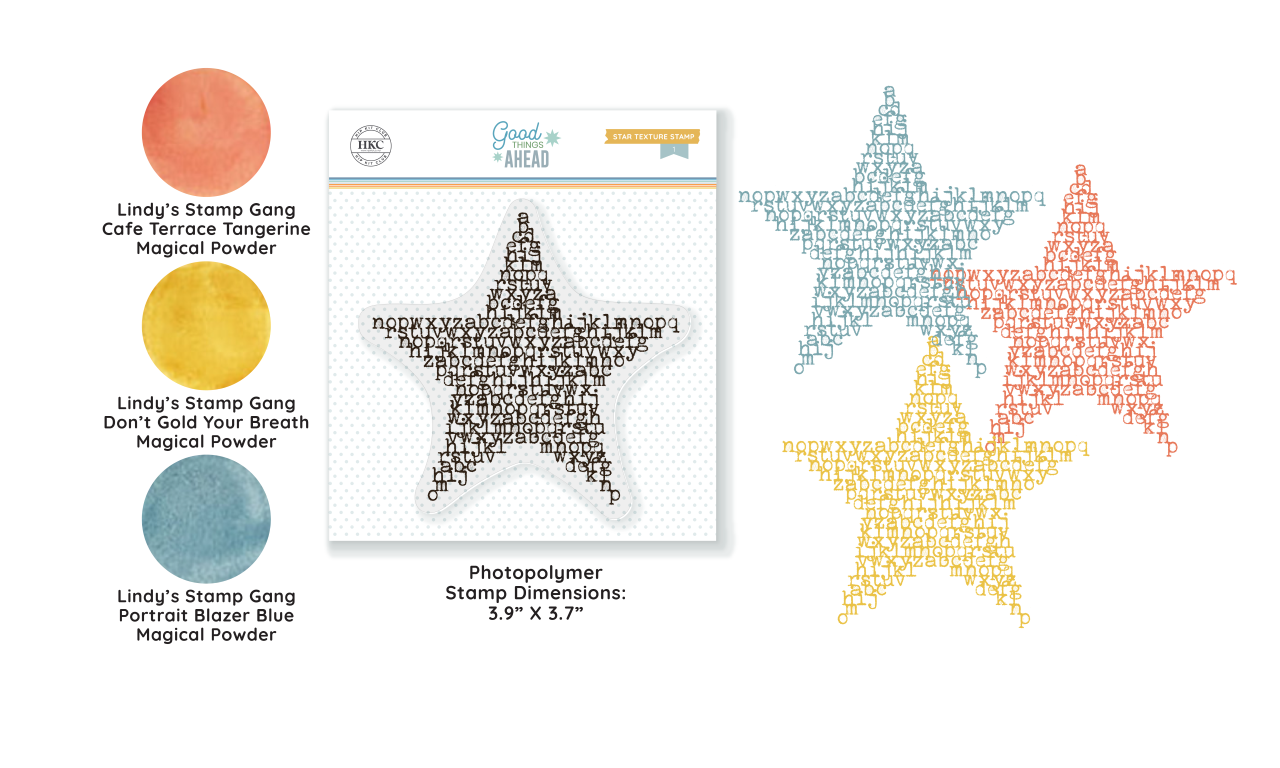
Want to get hands-on? The September 2024 Color Kit has some awesome textured papers and elements. Use them to add real, touchable texture to your printed photos and layouts. You can even scan these textures to create your own unique digital overlays!
7. Hand-Drawn Elements: Infusing Personal Touch into Vintage Photos
Adding hand-drawn elements to your vintage-style photos is like giving them a secret signature. It's fun and easy:
1. Use a digital drawing tool or tablet
2. Draw simple doodles, frames, or text on a new layer
3. Experiment with different brush styles for that hand-drawn look
4. Adjust opacity to make your drawings blend in
Hand-drawn elements can add a whimsical, personal touch to your vintage creations. Try adding simple illustrations that complement your photo's theme, or create a hand-drawn border to frame your image. For an extra vintage feel, mimic the style of old-fashioned advertisements or postcard illustrations.

Need inspiration? The September 2023 Main Kit has some great hand-drawn style elements. Use them as a guide or trace them to create your own unique additions. Don't worry about perfection - slight imperfections can actually enhance the vintage charm!
8. Analog Meets Digital: Scanning Physical Media
Sometimes the best way to go digital is to start analog! Here's how to bring real-world textures into your digital creations:
1. Gather interesting textures (leaves, fabric, old paper)
2. Scan them or take high-quality photos
3. Use these scans as overlays in your digital projects
4. Experiment with blending modes to integrate them
This technique allows you to incorporate truly unique textures into your digital work. Try scanning old book pages, vintage fabrics, or even natural elements like pressed flowers. These scanned textures can add an authentic, tactile quality to your digital vintage photos that's hard to replicate with purely digital tools.

The August 2023 Main Kit has some amazing textured elements. Scan them to create unique digital overlays for your vintage-style photos. This blend of physical and digital media can result in truly one-of-a-kind vintage effects.
9. Pocket Life: Vintage Effects for Modern Memory Keeping
Pocket Life scrapbooking is perfect for mixing vintage vibes with modern memories. Here's a fun digital twist:
1. Create a digital template with pocket-sized spaces
2. Fill each "pocket" with a vintage-styled photo or element
3. Add digital "cards" with journaling or quotes
4. Use vintage-inspired fonts for text
Pocket Life layouts offer a great way to combine multiple vintage techniques in one project. You can have a photo with film grain in one pocket, a color-graded image in another, and a digital collage in a third. This approach allows you to tell a rich, multi-layered story with your vintage-inspired creations.

Check out Hip Kit Club's Pocket Life Kits for inspiration. They're packed with vintage-inspired elements perfect for both digital and physical memory keeping. Mix and match these elements to create a cohesive vintage look across your entire layout.
10. Bringing It All Together: Mixed Media Vintage Photo Project
Now it's time to mix and match all these techniques! Here's a fun project idea:
1. Start with a vintage-style digital photo
2. Add a film grain overlay
3. Apply color grading for that old-school look
4. Include a subtle light leak
5. Add a vignette
6. Layer in some scanned textures
7. Finish with hand-drawn elements
Remember, the key to a successful mixed media vintage project is balance. Not every technique needs to be applied to every photo. Sometimes, a subtle touch of grain and a light color grade is all you need. Other times, you might want to go all out with multiple layers and effects. Let the mood and subject of your photo guide your creative decisions.
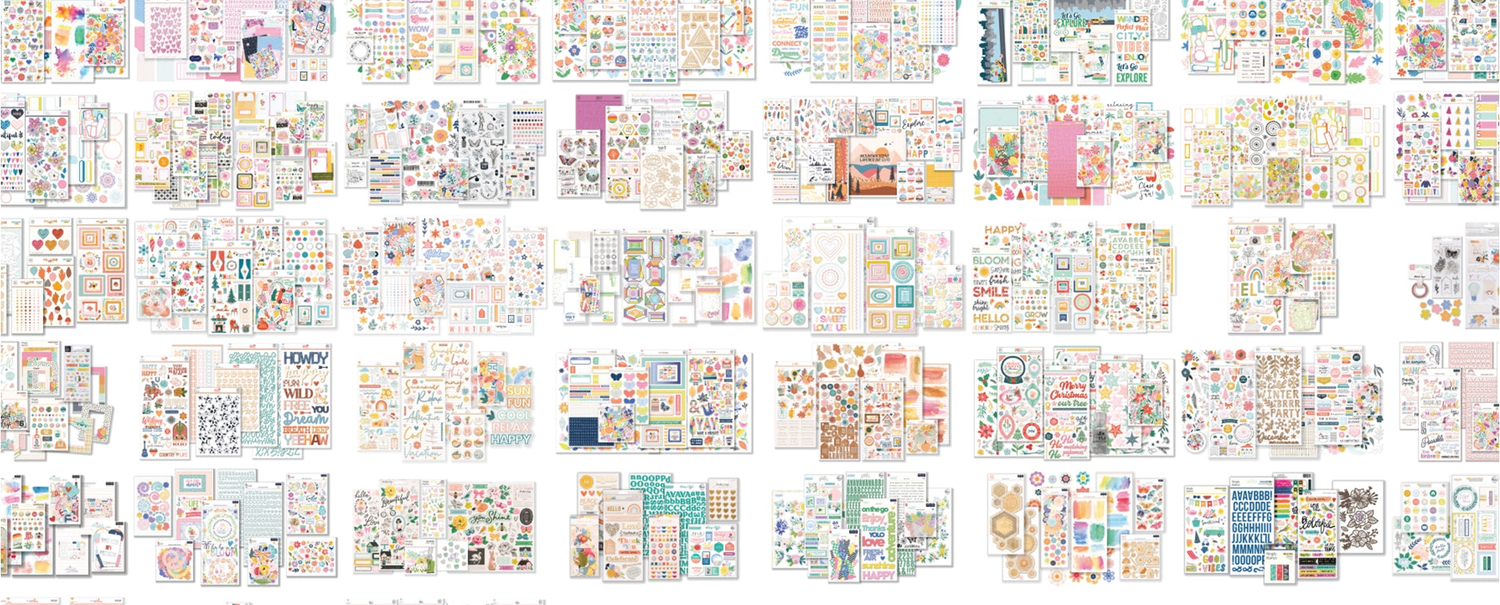
For endless inspiration and supplies, check out Hip Kit Club's Main Kits. They're packed with goodies to bring your vintage visions to life!
Wrapping Up
Creating vintage photo effects with mixed media is all about playing and experimenting. Don't be afraid to mix digital techniques with real-world textures. The magic happens when you blend old and new!
Remember that the goal isn't always to create a perfect replica of an old photo, but rather to evoke the feeling and aesthetic of a bygone era. Let your creativity guide you, and don't be afraid to break the rules sometimes - that's often where the most interesting vintage effects come from!
Ready to start your vintage photo adventure? Check out our latest kit reveal for even more inspiration!
Remember, the best vintage effects are the ones that tell your story. So grab your camera, fire up your computer, and start creating some timeless memories!
